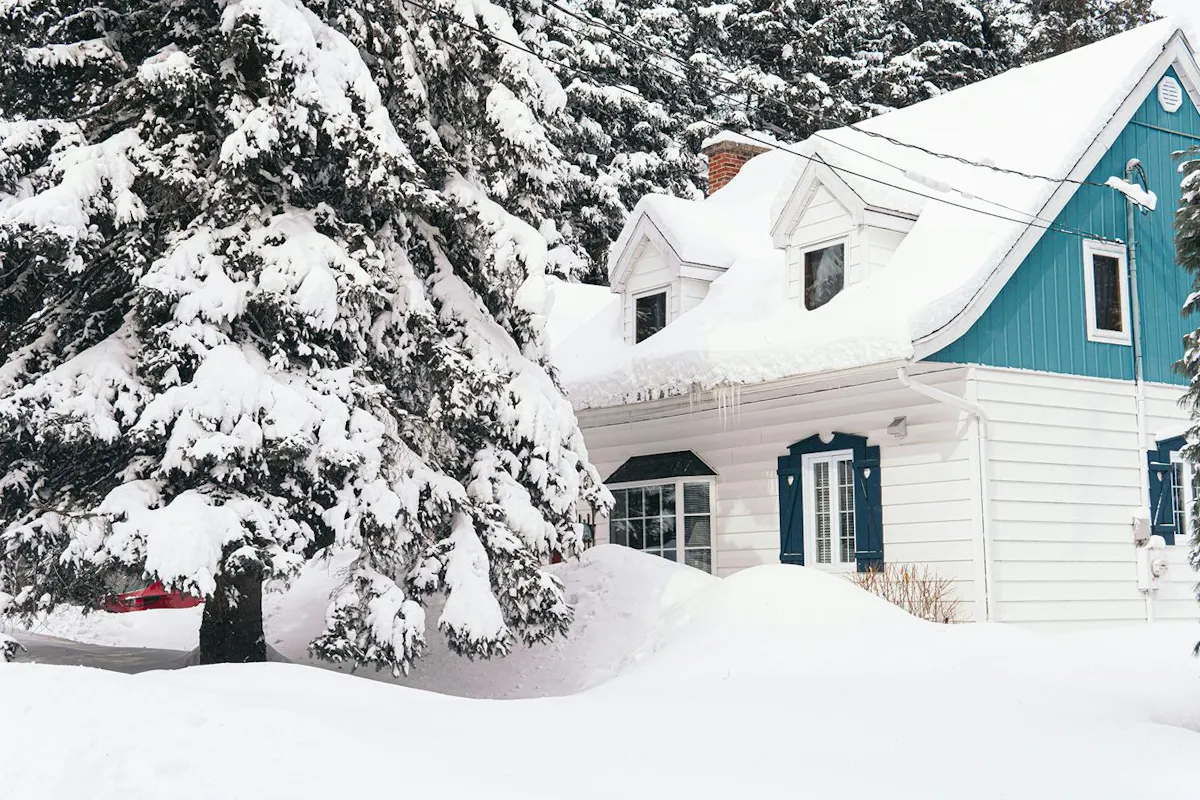
DIY Home Energy Audit: Guide to Energy Savings
Last edited
Author
Andrew Blok
Electrification and Solar Writer and Editor

When you think of energy efficiency, big-ticket items like new windows, solar panels, or a heat pump probably come to mind. They’re great, but there’s a lot you can do right now without spending a fortune. In fact, the U.S. Department of Energy (DOE) notes that most families can slash their monthly bills by 5% to 30% just by making small tweaks found during a DIY home energy audit.
You don’t need to hire a pro just yet. A DIY audit is a simple way to find the low-hanging fruit — those quick, inexpensive fixes that stop energy waste and put money back in your pocket immediately.
See what home electrification can do for you:
What is an energy audit?
Think of a home energy audit as a checkup for your house’s energy efficiency. It’s the process of identifying where your home is losing energy, which systems are inefficient, and which habits are costing you money. While a professional uses specialized tools, a DIY audit can be done with just your senses and a bit of detective work.
Your DIY energy audit toolkit
You don’t need high-tech sensors to get started. Most of these items are already in your home.
Flashlight: To check for gaps in the attic, basement, and behind appliances.
Stick of incense or damp hand: To detect faint air drafts around windows and outlets.
Notebook or phone: To keep track of problem zones so you can prioritize repairs.
Your utility bills: To look for seasonal spikes that indicate efficiency drops.
Your DIY energy audit checklist
1. Hunting for air leaks
Air leakage accounts for a significant portion of energy waste. The US EPA estimates that air sealing (paired with adequate insulation) can reduce a home’s average energy costs by 11%. Check the following areas:
Openings for pipes and wires: Look under sinks and where utilities enter the house.
Windows and doors: If you can see daylight around a door frame or feel a breeze near a window pane, you're losing money.
Electrical outlets: Surprisingly, air can leak through outlets on exterior walls.
Once you’ve identified air leaks, you can address them using weatherstripping, caulk, door sweeps, insulated outlet covers, or other location-specific air sealing materials.
2. Inspecting insulation
If your home was built before the year 2000, it may lack insulation up to modern recommended levels.
The attic: Check if your attic insulation is level with or below the floor joists. The DOE recommends that most attics should have an R-value of R-38 to R-60 (about 12–15 inches of fiberglass or cellulose).
The touch test: On a cold day, touch your interior walls. They should feel dry and warm. If they feel cold or damp, the insulation in the wall cavity may have settled or be non-existent.
3. Lighting and electronics
Bulb inventory: Identify every incandescent or halogen bulb still in use. Switching to Energy Star-certified LED light bulbs uses 75% less energy and lasts 25 times longer.
Vampire energy: Look for electronics with standby lights (TVs, chargers, coffee makers). These draw vampire power even when turned off.
See what home electrification can do for you:
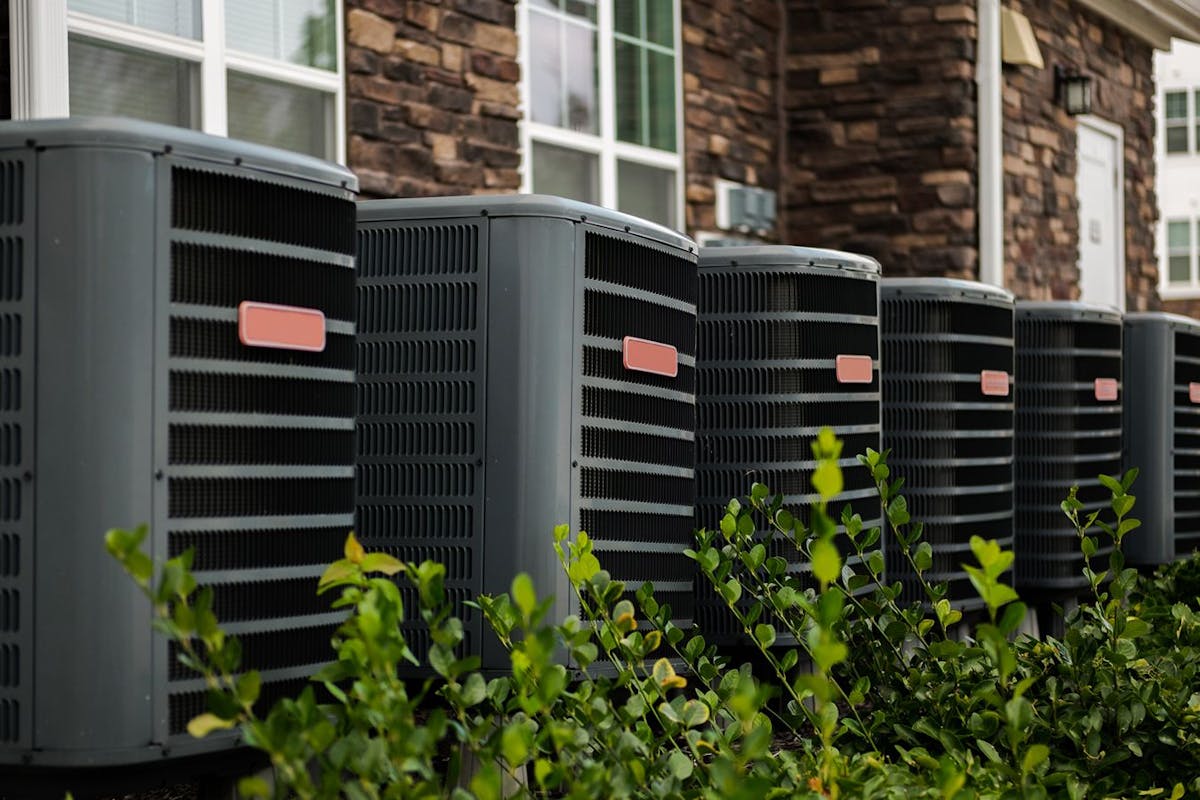
4. HVAC and water heating
Filter check: A dirty furnace filter forces the system to work harder. Check yours; if it's gray instead of white, replace it.
The 120° rule: Check your water heater’s thermostat. Many are set to 140°F by default, but setting your water heater to 120°F is sufficient for most households and prevents heat loss from the tank. If the tank is warm to the torch, see if it’s safe to install a water heater blanket for greater insulation.
Check ducts: While your HVAC system is running, check for leaks from your duct system into unconditioned spaces. Any air that escapes into those areas is wasted.
| Problem Area | How to Find It (Detection) | How to Fix It (The DIY Solution) |
|---|---|---|
| Window/door drafts | Move a damp hand around frames; look for gaps. | Apply weatherstripping to door stops and caulk around stationary window frames. |
| Baseboard gaps | Feel for cold air where the wall meets the floor on exterior walls. | Add a thin bead of clear caulk along the top of the baseboard or where it meets the floor. |
| Water heater heat loss | If the outside of the tank feels warm, it’s losing heat to the surrounding air. | Install an insulating blanket (check your manual first) and insulate the first 3 feet of hot water pipes. |
| Duct leakage | While your HVAC system runs, feel for blowing air at the joints of visible ductwork in the attic and crawlspace. | Use mastic sealant or foil-backed tape (not standard "duct tape") to seal the gaps. |
| Outlet/switch drafts | Check for drafts at outlets located on walls that face the outdoors. | Install inexpensive foam gaskets behind the plastic cover plates. |
| Inefficient bulbs | Look for coiled CFLs or old-school rounded incandescent bulbs that get very hot to the touch. | Replace with ENERGY STAR certified LEDs |
Know your limits: When to call in a professional
While a DIY audit is a great start, professionals can take things a step or two farther.
Professional advantages: A pro may use a blower door test (depressurizing the house to find hidden leaks) and thermography (infrared cameras that see heat loss through walls).
Safety first: If you suspect a gas leak (the smell of rotten eggs) or see scorched wiring near your electrical panel, stop immediately and call a professional. DIYers should never attempt to service gas lines or open the main electrical panel.
The bottom line
A DIY audit is about home comfort and your bottom line. By sealing leaks and swapping bulbs, you boost your efficiency, keep more comfortable, and keep more money in your pocket. Once you've tackled the basics, you can decide if the investment in a professional auditor is the right next step for your home’s efficiency.
To learn more about how you could save energy at home, explore Palmetto’s Savings Maximizer, or download the Palmetto app for more ideas on how to save.
See what home electrification can do for you:
DIY energy audit frequently asked questions
Can you do an energy audit yourself?
Yes. Many common energy audit tasks can be performed by the average person. Others, like performing a door blower test, are best left to a professional.
Can an energy audit save you money?
Overall, yes. A DIY audit costs little to nothing to perform and can identify areas of inefficiency and waste that can reduce your energy bills when addressed.
Disclaimer: This content is for educational purposes only. Palmetto does not provide tax, legal, or accounting advice. Please consult your own tax, legal, and accounting advisors.